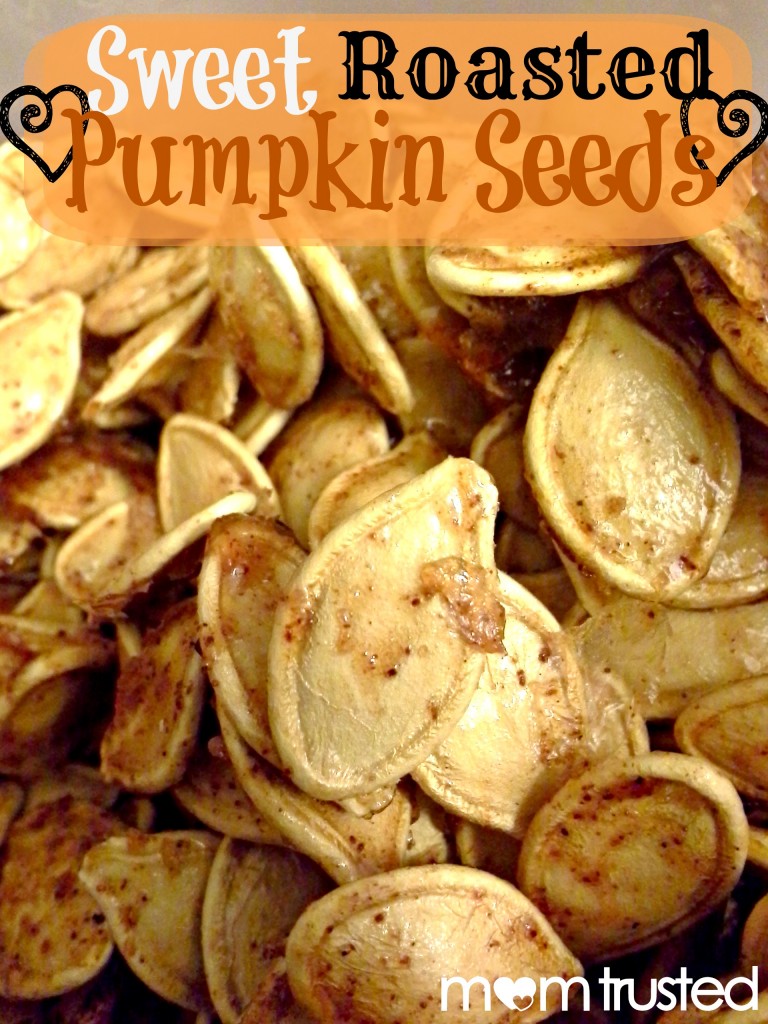
Here’s a tasty fall treat that you can easily make with your preschooler (or have them make independently….well, almost): sweet pumpkin spice roasted pumpkin seeds! Whether you are getting ready for Halloween by carving pumpkins or getting rid of those no-carve pumpkins that have been sitting around for a while now that trick-or-treating is done for the year, this is a recipe that makes use of all those seeds. And once they’re roasted to yummy perfection, you can either bag them up for a great treat for friends, neighbors, teachers, or relatives or you can enjoy them with your little preschooler turned chef. Either way, your house will smell fabulous and someone will enjoy a sweet treat! Here’s what you’ll need to make these deliciously tasty sweet roasted pumpkin seeds:
Materials:
Step 1: Preheat the oven to 350 degrees.
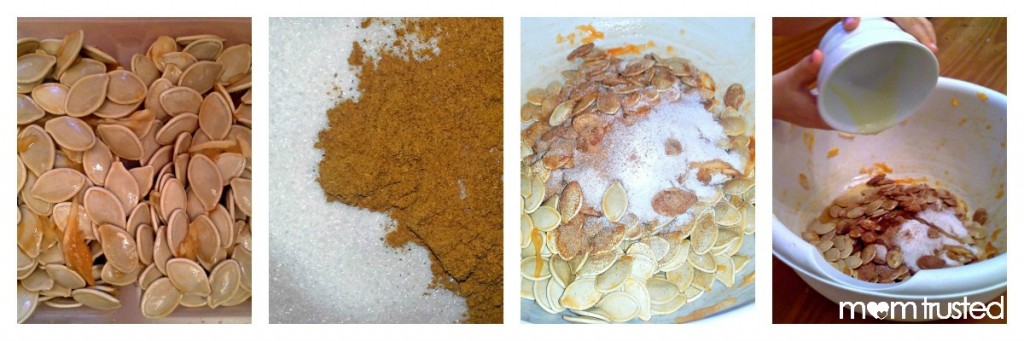
Step 2: Allow your preschooler to measure and combine all the ingredients into a bowl and mix, mix, mix to their heart’s content.
TIP: For younger children, have the ingredients premeasured so all they have to do is dump them into a bowl. You may also consider having the ingredients prepared ahead of time if working with a small group of preschoolers.
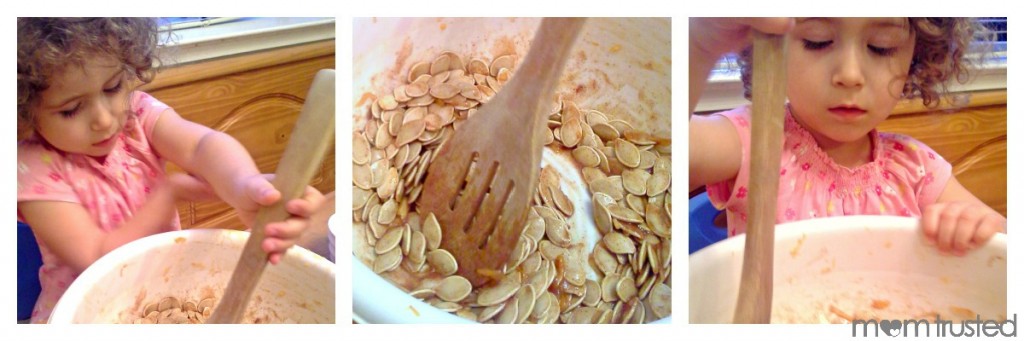
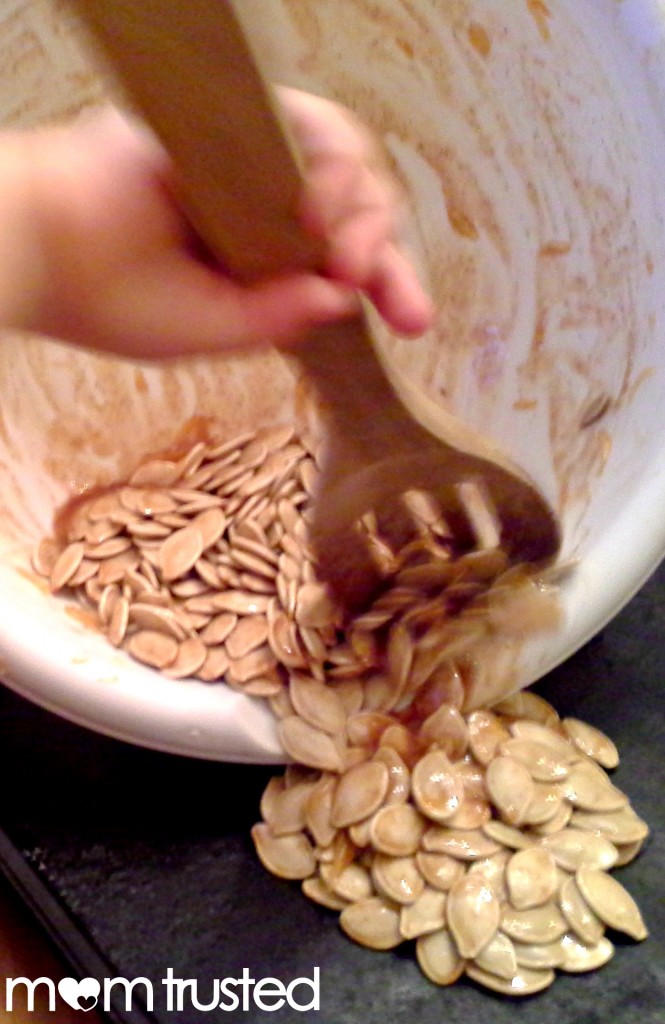
Step 3: Once the pumpkin seeds are thoroughly coated in the sugar-spice, have your preschooler pour the seeds onto an over safe pan or dish. With the spoon, evenly distribute the seeds so that they roast evenly.
Step 4: Now the pumpkin seeds are ready for roasting. An adult should place the pan or dish into the oven for 25-30 minutes.
TIP: Because oven times vary, set a timer to go off every 10 minutes or so. The seeds need to be stirred anyway, but this allows you to make sure they don’t get burnt. The first time I roasted some seeds, they looked perfect on the outside but the seeds tasted burnt. Ended up throwing the whole batch away.
Step 5: Once the seeds are done roasting to a golden perfection, allow them to cool. Then they are ready for snacking on or packaging up for a tasty gift. YUM! Enjoy!
TIP: You may need to demonstrate to younger children how to take the seed out of the shell. My daughter, however, didn’t have the patience to wait and just ate the pumpkin seeds, shell and all. It has been suggested that the shell is the best part anyway. I would try them with and with out to see how you like them best.
Related topics
Most recent
-
Loading ...